Shortening the tonneau cover is essential when your truck bed size is smaller than the cover.
The perfect fit may not be around the corner. And it made you settle for a larger cover with some trimming and cutting.
Worry not, because there is a simple solution to assist you. Favorably, how can you shorten a tonneau cover to the exact position?
The shortening process can be done in five smooth steps. It starts by measuring the extra size and then placing the cover comfortably. After that, you will work with the edges to sufficiently apply the trimming process. The perfect result comes when the cover is laid back on.
The entire process is quite exciting and can get you hooked easily. In the end, you will be endured by some good facts-something that can benefit your work immensely.
5 Steps for Shortening Tonneau Cover
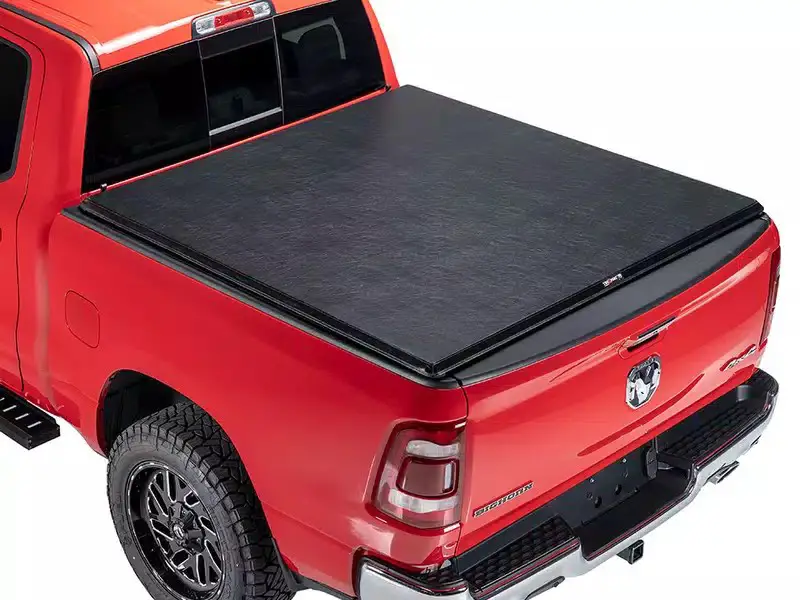
Most durable Tonneau covers are made of rugged aluminum stats or polycarbonate materials. But you cannot avoid the features of fiberglass contents as well.
In such a scenario, the hardcovers are challenging to cut. Thus, you may need some expert help. On the other hand, softer covers are easy to deal with.
The outcomes of shortening the cover scenario would depend on how you follow some simple steps.
Step 1: Measure The Size To Cut
You must place the cover on the back of the truck. This would easily showcase how many inches the cover is laid out. In the first step of the whole process, all you need is a measuring tape.
You have to measure the area from a side angle. The shortest truck bed sizes are usually around 5 feet. The most extended covers must have accompanied the longer 8 feet beds.
Therefore, the cut you must make can go from 12 to 24 inches, in other words, from one foot to two feet. This depends on the size of the overall tonneau cover.
The next step is essential as you have measured the distance in terms of inches. Before that, you must inspect the edges of the cover.
Step 2: Place The Cover At A Comfortable Position
To cut and trim the cover, you must move it out of the truck. However, there is a thing to do before you go forward. As mentioned before, do inspect the edges.
The outer layers of the cover are positioned with some plastic bearings. This is on the top and the bottom side of the cover.
The left and right sides come with plastic or metal frames. These frames or rims hold the overall surface of the cover. It also lets you move the cover from the truck to somewhere else.
Make sure you have spotted the right area to place the cover. It can be in your garage or perhaps in the backyard. Also, ensure that the area is clean and free from items messing around.
You need to have a firm grip on the cover. For this reason, positioning is an integral part of the process. You need to stand tight as well while moving around the area freely.
As you will be using tools, clearing the surrounding area is essential. If you bump over something, you can injure yourself and the cover.
Step 3: Work With The Edges
The process of shortening the cover means implying a clean look after trimming it. The end material should look as good as new. The cutting process should not impact the quality and aesthetics of the cover.
This is where working with the frames at the edges is essential. You are going to have two options in the process:
- Cut the frames down to the size that fits the truck beds
- Buy some shorter-sized plastic rims to fit the newly shortened cover
Cutting down is often not recommended as the quality of the end texture may be hampered. Do seek expert help if you can’t do it by yourself.
On the other hand, there is another option that you can apply:
- Buy some good quality wooden materials that can be crafted as frames
- Measure the size to cut and craft
- Use a drill machine to cut the wood
- Use filler to connect joints and sand to smooth the surface
- This should be followed by painting the surface
- Follow the next steps to complete the process
Again, I cannot stress the importance of using an expert hand. Work around your best option with the knowledge you gain from this platform.
Step 4: Apply The Trimming Process
Your efficiency regarding a perfect output truly depends on how good you are in the finishing process. This is in terms of using power tools such as a drill machine.
If you have done some woodwork before, this should not be a problem. You will be more comfortable doing the job with better efficiency.
The end texture must be smooth with proper alignment at the edges. This is so that you can fit the frames perfectly when the cover is shortened. Cutting is, therefore, not simply the honest answer.
Here are a few points to figure out for an efficient trimming:
- Use a clamp or vise to make the drill machine steady. This would enable you to hold a firm grip and prevent injuries.
- Make sure your projection is thorough.
- Mark out the areas you want to drill and cut on the cover surface
- Initiate the process slowly and keep a balanced speed throughout the process
- Make sure you don’t force the speed at any cost
- Pause and rest a little if you think you should
- Do phase out the cuts by placing metal bars in between
Following these instructions would help you secure a good trim. A good drill machine product with sharper constructs can make your work easier. Therefore, make sure you have acquired a good quality product.
When the cutting is done, it is time to place the frames back on. This would support the shortened covers so that it fits in perfectly. The back of the truck must look good with the newly adjusted cover.
Read also: Bakflip Mx4 Problems
Step 5: Place The Cover Back On The Truck
When the real work is done, you must develop some good cravings. It comes about with an intent to have the perfect sight involving the cover fitting in. However, there is still some work before the cover is placed back.
The most important thing to do is clean the surface of the cover. This should involve the edges of the covered frames. Do inspect if the frames are moving around; if so, there are some issues with adjustments.
You can work out a little more to adjust the installments. Some little cutting here and there won’t bother the overall finishing. Either way, you are into work with a cover that secures longevity.
When every step of the process is done correctly, place the cover back on. By fitting in at the back of the truck, start driving around. Inspect how the cover is holding up with the truck’s acceleration.
Tips On Tonneau Cover Maintenance
Hefty investment in truck bed covers should give you fruitful benefits. For this reason, working in the maintenance department becomes essential.
Here are a few useful tips that make the cover look promisingly good:
- Inspect the cover regularly and clean the surfaces more often.
- Work with the clamps and bolts alongside some other hardware. This ensures the security system is perfectly aligned, fixed, and tightened.
- Lubricate the small filtered gaps of the rims, so they don’t rust. Do it quite regularly.
- Prevent the surface from cracking with some suitable cleaning kits
- Do not overburden the cover with too much load
- In the case of soft covers, keep them out from direct sunlight.
Working on all these areas would help you achieve the best results.
FAQs
Do the shortened covers have any impacts on roll-up leakages?
When shortened, the tonneau covers remain perfectly watertight. You can easily roll up the covers with no issues regarding leakages. Most tonneau cover products are waterproof, so this aspect has no problems.
Can the truck be washed with the tonneau covers on?
The hard plastic, aluminum, and fiberglass exteriors don’t cause damage when the truck is washed. However, any painted tonneau cover should be removed from the truck when cleaning.
How long does it take to install a truck bed cover?
While the entire trimming and cutting process may take longer, installation takes a shorter time. You can achieve this within 30 minutes. This is after you have spent nearly an hour on the overall process.
Conclusion
Your hard work must pay off! As you invested enough in the shortening process, you should achieve all the good favors. This is from the newly crafted tonneau cover that improves gas mileage with maximum efficiency.
The value for money should be in demand as well. Spending more should mean better quality, and this is duly the case.
I hope this article has helped you enough with quality insights.
It is time to say goodbye by wishing you all the best!
Adios!